
Quick start.
See it running before you set anything up.
Run the API and the app on your own computer in demo mode, with no Firebase project and no AI key. Then open the console with its built-in sample data. Nothing here costs money, and you do not need to understand the code: you copy three short blocks of commands.
01Before you start
You need two free tools on your computer: Node.js 22 (runs the API and the console) and Flutter 3.41 or newer (builds the app). Requirements says where to get them. Every command on this page is typed in a terminal, a window where you type commands; Requirements → Using a terminal shows how to open one.
Check that both tools are installed:
node --version      # v22.x
flutter --version   # Flutter 3.41 or newer, Dart 3.11
Terminal: macOS or Linux as shown; on Windows use WSL or Git Bash (how).
Unzip the download. It has three folders: source/ (the code), documentation/ (these pages) and licenses/. Open a terminal in source/, the folder that contains app/, firebase/ and admin/. Every command in these pages starts from there.
021. Start the local API
The API is the part that answers the app. Here it runs on your computer in demo mode and keeps everything in memory.
cd firebase/functions
npm install
npm run dev:api
Terminal: macOS or Linux as shown; on Windows use WSL or Git Bash (how).
It prints Muse AI API (dev, demo mode) on http://localhost:8787/v1/config. Leave this terminal open. Check it in a second terminal:
curl http://localhost:8787/v1/healthTerminal: macOS or Linux as shown; on Windows use WSL or Git Bash (how).
The answer looks like {"ok":true,"version":"2.0.0","ai":"no_key","images":"no_key","tts":"off","transcribe":"ok","video":"ok","discover":"ok","demo":true,…}. no_key is expected: the dev API has no AI key, so chat answers with a labelled demo reply ("This is the demo without an AI key…"), images with a labelled sample picture, and Discover, video and transcription with labelled samples. Natural voices are off, so read-aloud uses the device voice. Stopping the API forgets everything.
To get real AI answers from the dev API, export a key in that terminal only, never in a file: export DEMO_AI_PROVIDER=anthropic and export DEMO_AI_KEY=… (or openai, gemini, openai_compatible with DEMO_AI_BASE_URL; for every provider except Anthropic also set the provider's model id in DEMO_AI_MODEL), then start npm run dev:api again. Images use DEMO_IMAGE_PROVIDER and DEMO_IMAGE_KEY. Your provider bills these calls to your own account.
032. Run the app in the browser
cd app
flutter pub get
flutter run -d chrome --dart-define=DEMO_MODE=true --dart-define=API_BASE_URL=http://localhost:8787
Terminal: macOS or Linux as shown; on Windows use WSL or Git Bash (how).
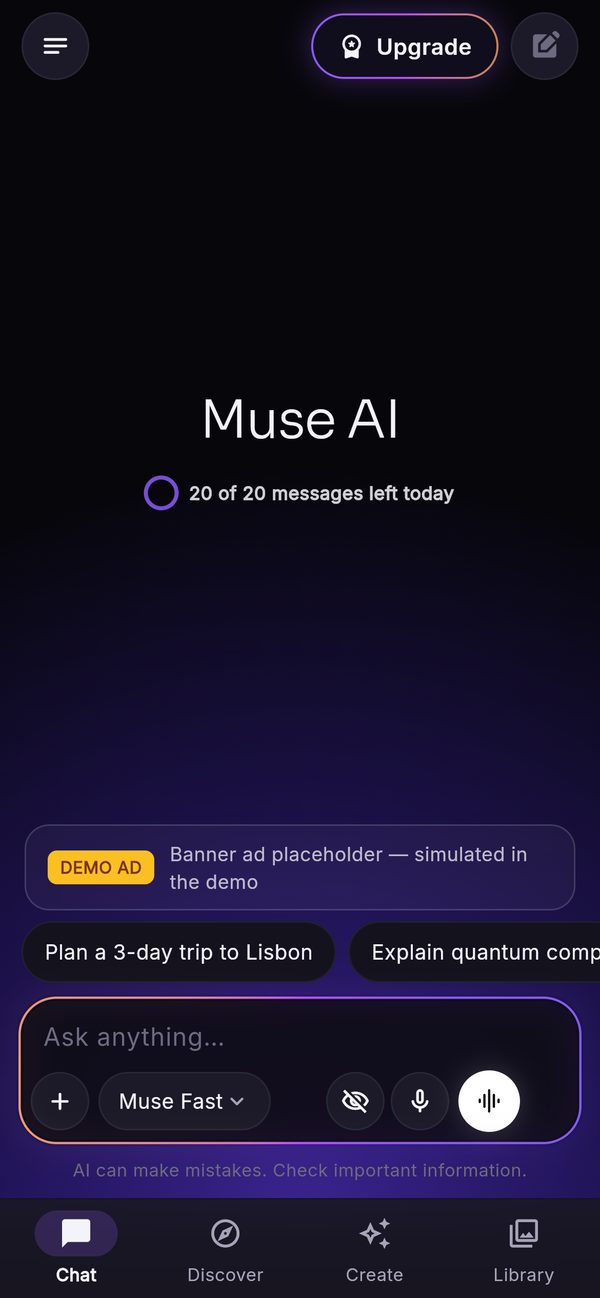
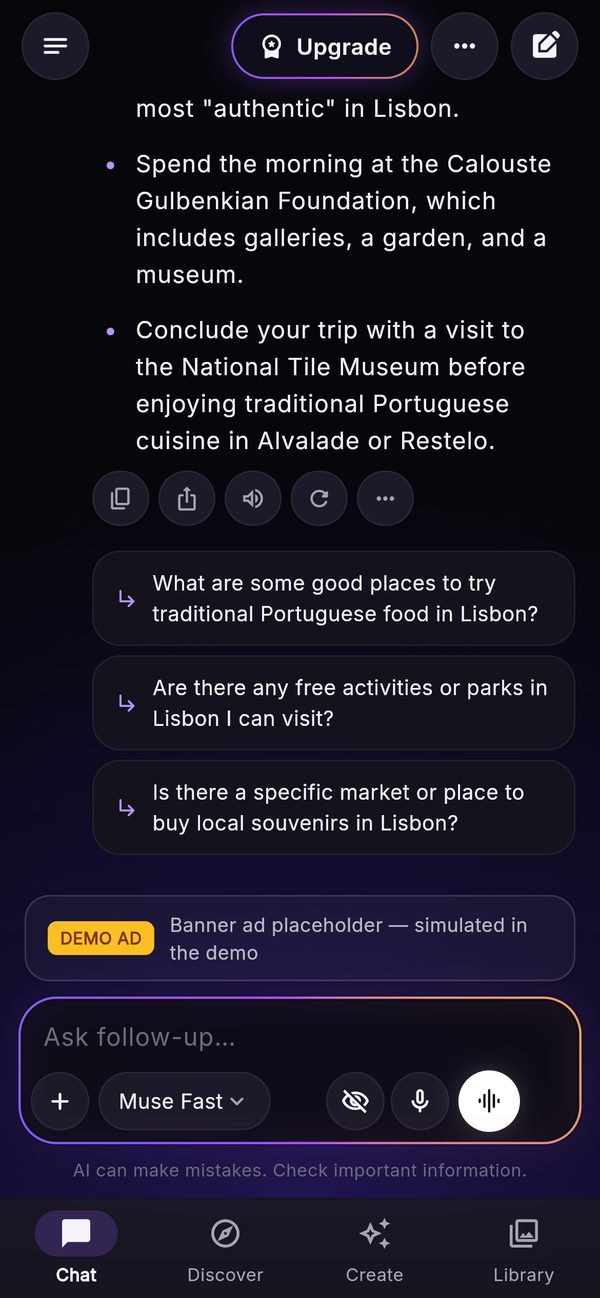
Chrome opens the app. DEMO_MODE=true means: no Firebase, a demo sign-in per browser, ads and purchases simulated and labelled ("DEMO AD", "Demo — no charge"). Walk through the onboarding and send a first message; the walkthrough shows each screen. Video export does not run in a browser: it runs only in the Android and iOS apps.
043. Open the console with sample data
cd admin
npm install
ADMIN_DATA=sample npm start
Terminal: macOS or Linux as shown; on Windows use WSL or Git Bash (how).
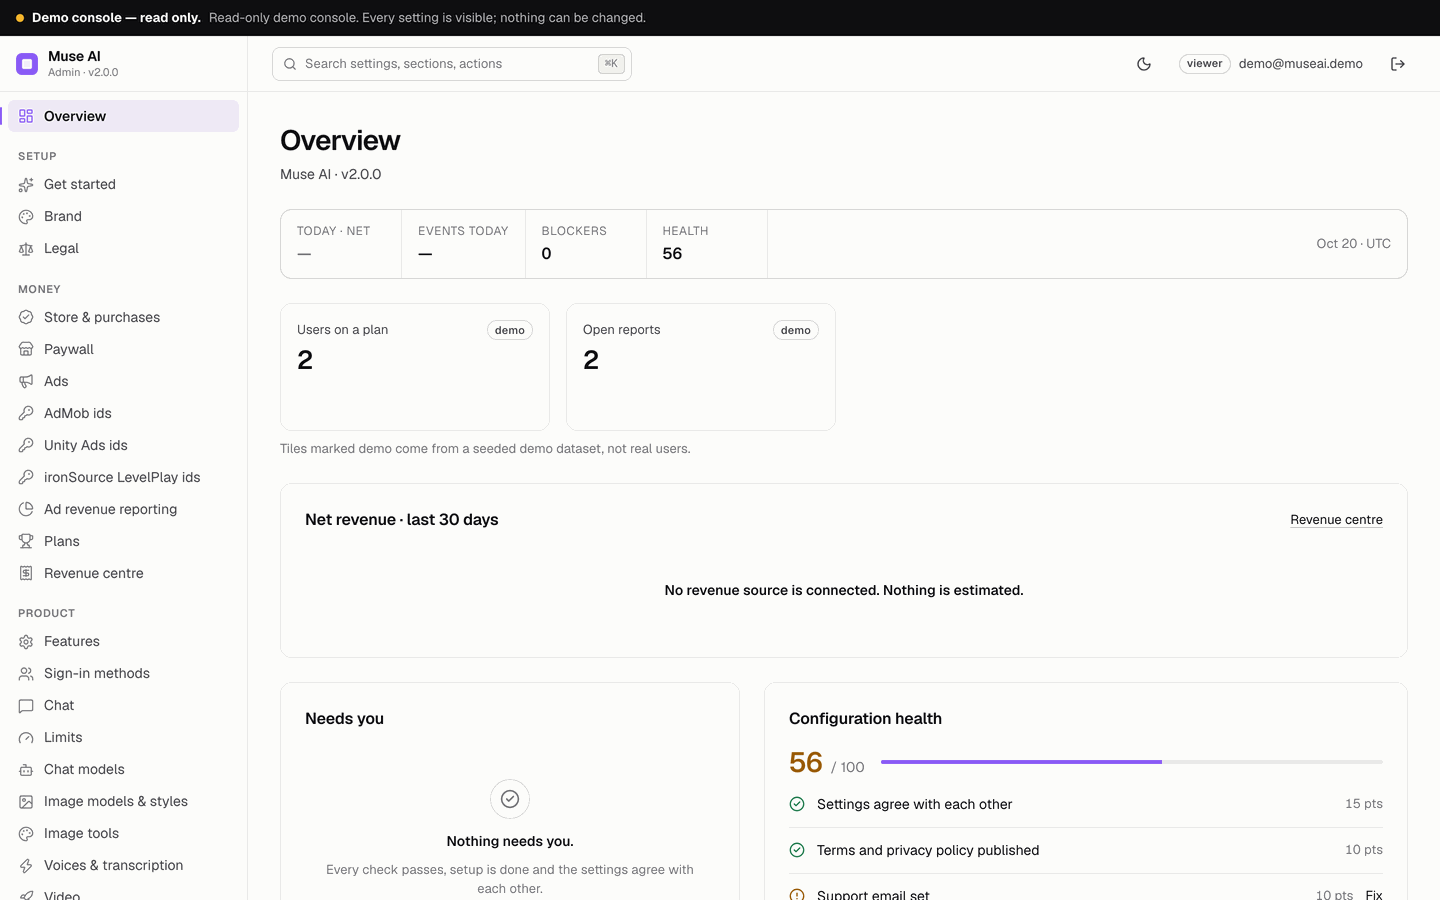
The log prints a one-time setup code and Muse AI console http://localhost:8790/admin. Open that address, choose Create the owner, paste the code and choose an e-mail and a password of at least 12 characters.
ADMIN_DATA=sample uses built-in sample data and never connects to Firebase. Every sample row is labelled "Sample", and usage, spend and revenue stay empty ("not measured") on purpose. Sample mode also writes the sample settings again at every start, so changes you make there do not survive a restart. For your real install, leave ADMIN_DATA empty (Installation).
05Next
- Read Architecture to see how the three parts connect.
- Check Requirements and Costs, then follow Installation for a real Firebase project.